


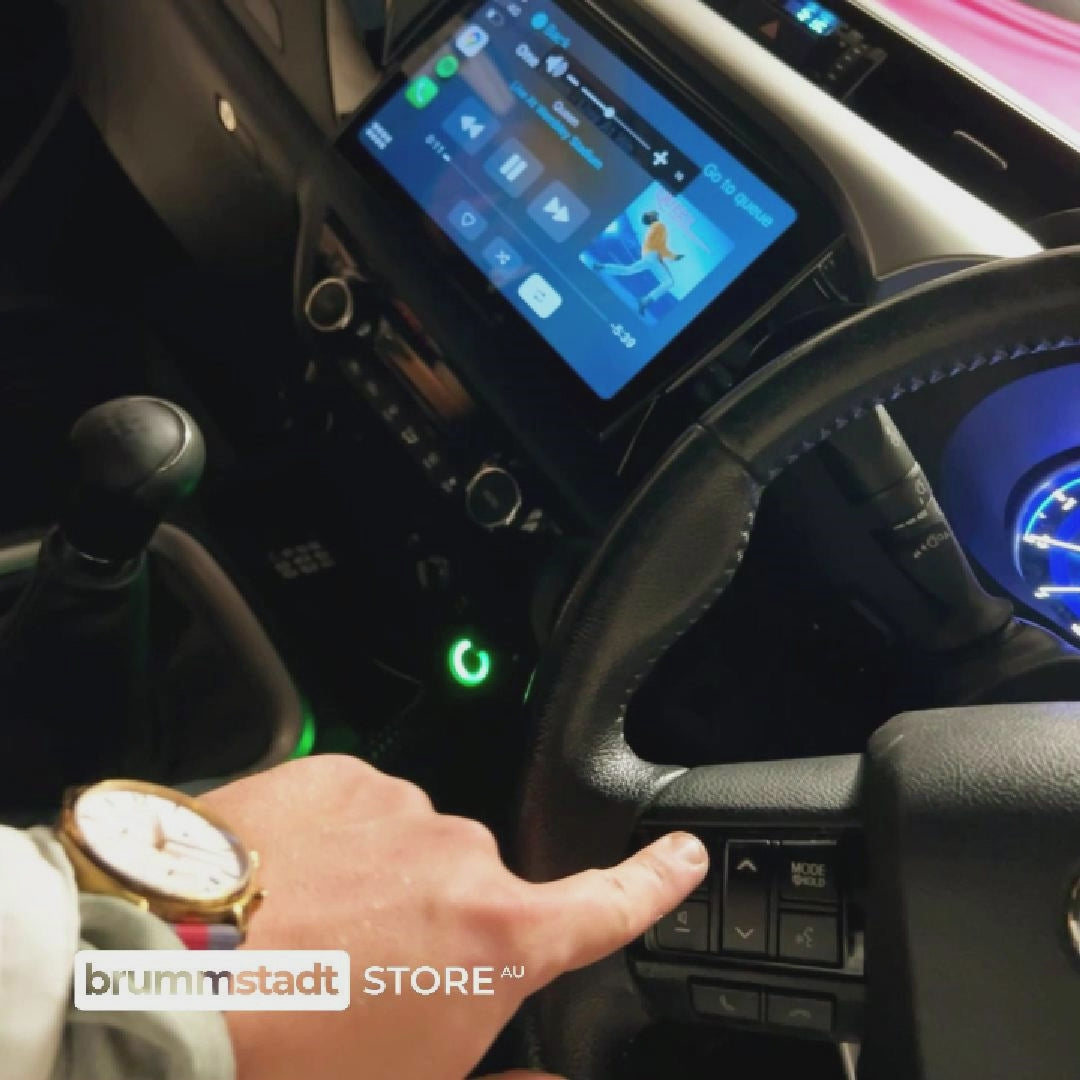


Toyota Hilux 2015-2024 - Premium Head Unit Upgrade Kit: Radio Infotainment System with Wired & Wireless Apple CarPlay and Android Auto Compatibility
or zip it from $10/week with 
$566.00
$1,234.00
Unit price
per
Guaranteed safe & secure checkout
-
Payment methods
-


4.5 | 181 reviews

General FAQs
Does your system work with cars that have built-in cameras?
If your car displays the camera feed on the rear mirror, that setup will remain unchanged since we primarily deal with the radio component. Retaining this type of camera is achievable, but it's a specialized process and not a straightforward plug-and-play affair. If your camera is integrated into the dashboard and connected to the radio, it can easily be retained using a retention cable. Some of our head unit products come bundled with a factory rear camera retention cable.
However, it's crucial to understand that we cannot guarantee the retention of all factory rear cameras. Different camera models operate at different voltages: some might run on 6v while others on 12v. Our units operate on 12 volts. If your camera runs on 6 volts, it can be retained using a 12v to 6v step down module. This step down module is not included in our bundle packages and needs to be purchased separately as a single item. We advise checking your car's manual to determine the voltage at which your rear camera operates if you're considering retaining it.
Given that many factory cameras are designed for smaller in-car screens, they often come with lower resolutions. When these are projected onto our larger screens, the image quality may not be optimal, leading to a pixelated or unclear view. Recognizing this potential disparity in resolution and screen size, we strongly recommend upgrading to our 1080p camera. This higher resolution camera ensures a crisper, clearer image that's designed for bigger displays, thereby enhancing safety and the overall driving experience. For specific details tailored to your vehicle or for more information on camera upgrades, please contact our service team.
Is it possible to keep my car's original microphone when installing your product?
Our units don't support integration with the factory microphone. However, they all have an in-built microphone. Given its placement, this microphone might pick up ambient sounds, making phone conversations less clear. For crisp and clear phone calls even on the move, our external microphone, which can be positioned closer to you, is the recommended choice.
Can I use offline maps with this unit?
Yes, our unit supports offline maps. Once you download the desired map areas while connected to the internet, you can navigate without an active internet connection. However, for real-time traffic updates, a stable internet connection is logically required.
Is it normal to have leftover plugs after installing the new head unit?
Yes, it's completely normal. Our new radio replaces some functions of the factory radio, and hence, some original plugs might not be required. Also, car manufacturers often include standard wiring for features, even if the original car buyer did not opt for them. For example, the car might be pre-wired for a backup camera even if the camera wasn't installed. These plugs are there to accommodate potential future upgrades. Secure any leftover plugs with cable ties to ensure they stay in place inside the dashboard.
Setup and Installation FAQs
I want my car's display (head unit) to access the internet using WiFi. How do I set it up?
The head unit, or the main display in your car, can do more than just play music or show radio stations. You can actually connect it to the internet, much like a smartphone or computer. Doing so lets you access online features, stream music, or even download updates. However, if you're using Zlink to mirror your phone's apps to the head unit, there might be some steps to follow to ensure a smooth WiFi connection. Here's how:
1. What's Zlink?
Zlink is a feature that lets your car's display (head unit) show and control apps from your phone, like maps or music. But, if you want the display to connect directly to the internet via WiFi, Zlink can sometimes get in the way.
2. Disconnect from Zlink:
On your car's display, find the Zlink option and disconnect or turn it off.
3. Avoid Zlink Reconnecting Automatically:
In the Zlink settings on the display, there might be a feature called auto-connect' or similar. Make sure it's turned off so Zlink won't try to reconnect by itself.
4. Connect to WiFi:
Now, go to the WiFi settings on your car's display, find your desired WiFi network, and connect as you would with a phone or computer.
| OS & Processor | Android 13 & Octa-Core Cortex A55 |
|---|---|
| Memory & Storage | 2GB/4GB/6GB/8GB RAM & 32GB/64GB/128GB SSD |
| Display Size & Resolution Quality | 10.1 IPS Screen, 1280x720 QLED |
| Audio & Brand | 32-Band EQUALIZER DSP & Brummstadt |
| Amplifier & Touchscreen | Toshiba - TCB001HQ & IPS Anti-glare Capacitive 5-Touch |
| Compatibility | Apple CarPlay, Android Auto (Wired & Wireless) |
| Accessories & Radio | DVR, TPMS, CAM (Optional) & FM, AM, RDS |
| Connectivity | WiFi, USB, Bluetooth 5.0, 4G LTE SIM-Card slot, HotSpot |
| Features & Warranty | Apple CarPlay, Android Auto, Bluetooth 5.0, Hands-Free, Built-in Microphone, GPS SAT NAV, Phone Link, Mirror Screen, Split Screen, Hi-Res Audio, Support Car Steering Wheel Control, WiFi, GPS, MP3/4 Player & 3 Years Warranty |
| Placement & Internet Connectivity | Dashboard & Built-in WiFi, 4G LTE SIM slot, HotSpot |
| GPS & Additional Support | Google Maps, IGO, Sygic, Navitel, HereWeGo (offline Maps) & DVR OBD2-ELM327, DAB+, FM/AM/RDS Transmitter, Radio Tuner, Rear View Camera, Dash Front Camera, Mirror Screen for Android & iPhone, Steering Wheel Controls |
| Package | Car Radio User Manual, Head Unit, Frame, Power Plug (Plug & Play), 2x USB Cable, WiFi Antenna, GPS Antenna, 4G Antenna |
Car Fit Information
This product is designed to fit and work with Toyota Hilux 2015, 2016, 2017, 2018, 2019, 2020, 2021, 2022, 2023, 2024. Please note that subtle distinctions can exist even between vehicles of the same model. Our commitment to compatibility is steadfast, and we've taken great care to accommodate the unique character of each vehicle. Should you need assistance or have any inquiries, our expert customer support team stands ready to provide you with guidance every step of the way.
This product is designed to fit and work with Toyota Hilux 2015, 2016, 2017, 2018, 2019, 2020, 2021, 2022, 2023, 2024. Please note that subtle distinctions can exist even between vehicles of the same model. Our commitment to compatibility is steadfast, and we've taken great care to accommodate the unique character of each vehicle. Should you need assistance or have any inquiries, our expert customer support team stands ready to provide you with guidance every step of the way.
Info:
Important Notice About This Product
Installation Precautions:
Safety and proper installation are paramount when it comes to our Toyota Hilux 2015-2023 Upgrade Kit. We've taken notice of our customers' feedback, and we'd like to offer some crucial advice:
Installation Precautions:
- Sequence Matters: Always connect all cables first before you connect the device to the power source. This step is crucial in preventing potential damage to your vehicle's electrical system.
- CANbus Cable: It is essential to ensure that the CANbus cable is connected first before any other cables are attached.
- Powering Up: Only after all the connections are securely in place should you connect the power plug. This ensures a safe and optimal setup for your device.
- Test Before Finalizing: Once all connections are made and before you finalize the installation by securing everything in place, turn on the unit to confirm its functionality. If there are issues, it's easier to troubleshoot at this stage.
We're committed to your satisfaction and safety. If you encounter any problems during the installation, please contact our support team for assistance. Your feedback helps us continually improve, and we appreciate the trust you've placed in Baeumer.